Over years of exploring the world and capturing its moments, I've gathered a collection of practical tips and, sometimes, little-known tricks. Whether you're just starting out or looking to refine your technique, I hope you find something valuable here to improve your own photography journey. But before engaging with this content, please ensure you you will follow a strict ethic: never, ever, disturb wildlife when taking pictures. Carnivores may miss their prey, animals may panic and get injured while escaping, insects can get damaged, young animals isolated from their parents, ..... .
Here is a link to a serious code of conduct:
Considering to use drones for wildlife photography? Sounds great but overall a bad idea and it is anyway forbidden in most parks. See
A good read is also this article which explores the complex phenomenon of "last-chance tourism" (LCT)—the trend of traveling to destinations threatened by climate change before they disappear or are radically altered. It delves into the ethical dilemmas, potential benefits, and ways to approach this type of travel more responsibly.
Checked the above links? Then let's prepare your trip!
Feedback and suggestions for additions are always welcome!
Gear & preparation
Murphy's law states "Anything that can go wrong will go wrong." This is a physical law in wildlife photography and you will have to distribute risks as much as possible! You should therefore consider taking everything in double as the failure of a single item can mean the end of your trip if you are out in the wilderness.
Planning
Select your destination as carefully as the the time you will pick to see wildlife. Seasons greatly affect the wildlife behaviour and probabilities to see anything. Your destination and weather conditions will be the main factors affecting the selection of the material to carry with you.
Biodiversity hot-spots are mainly located in developing countries where security can be an issue. Relying on agencies and local guides will not only greatly help to have a smooth trip but will also know where exactly to go to see wildlife. Traveling on your own might be more exciting and will be cheaper but I guarantee you will not see a tenth of what you would see with a good guide. Last but not least, supporting the local economy is the best way to support local conservation efforts.
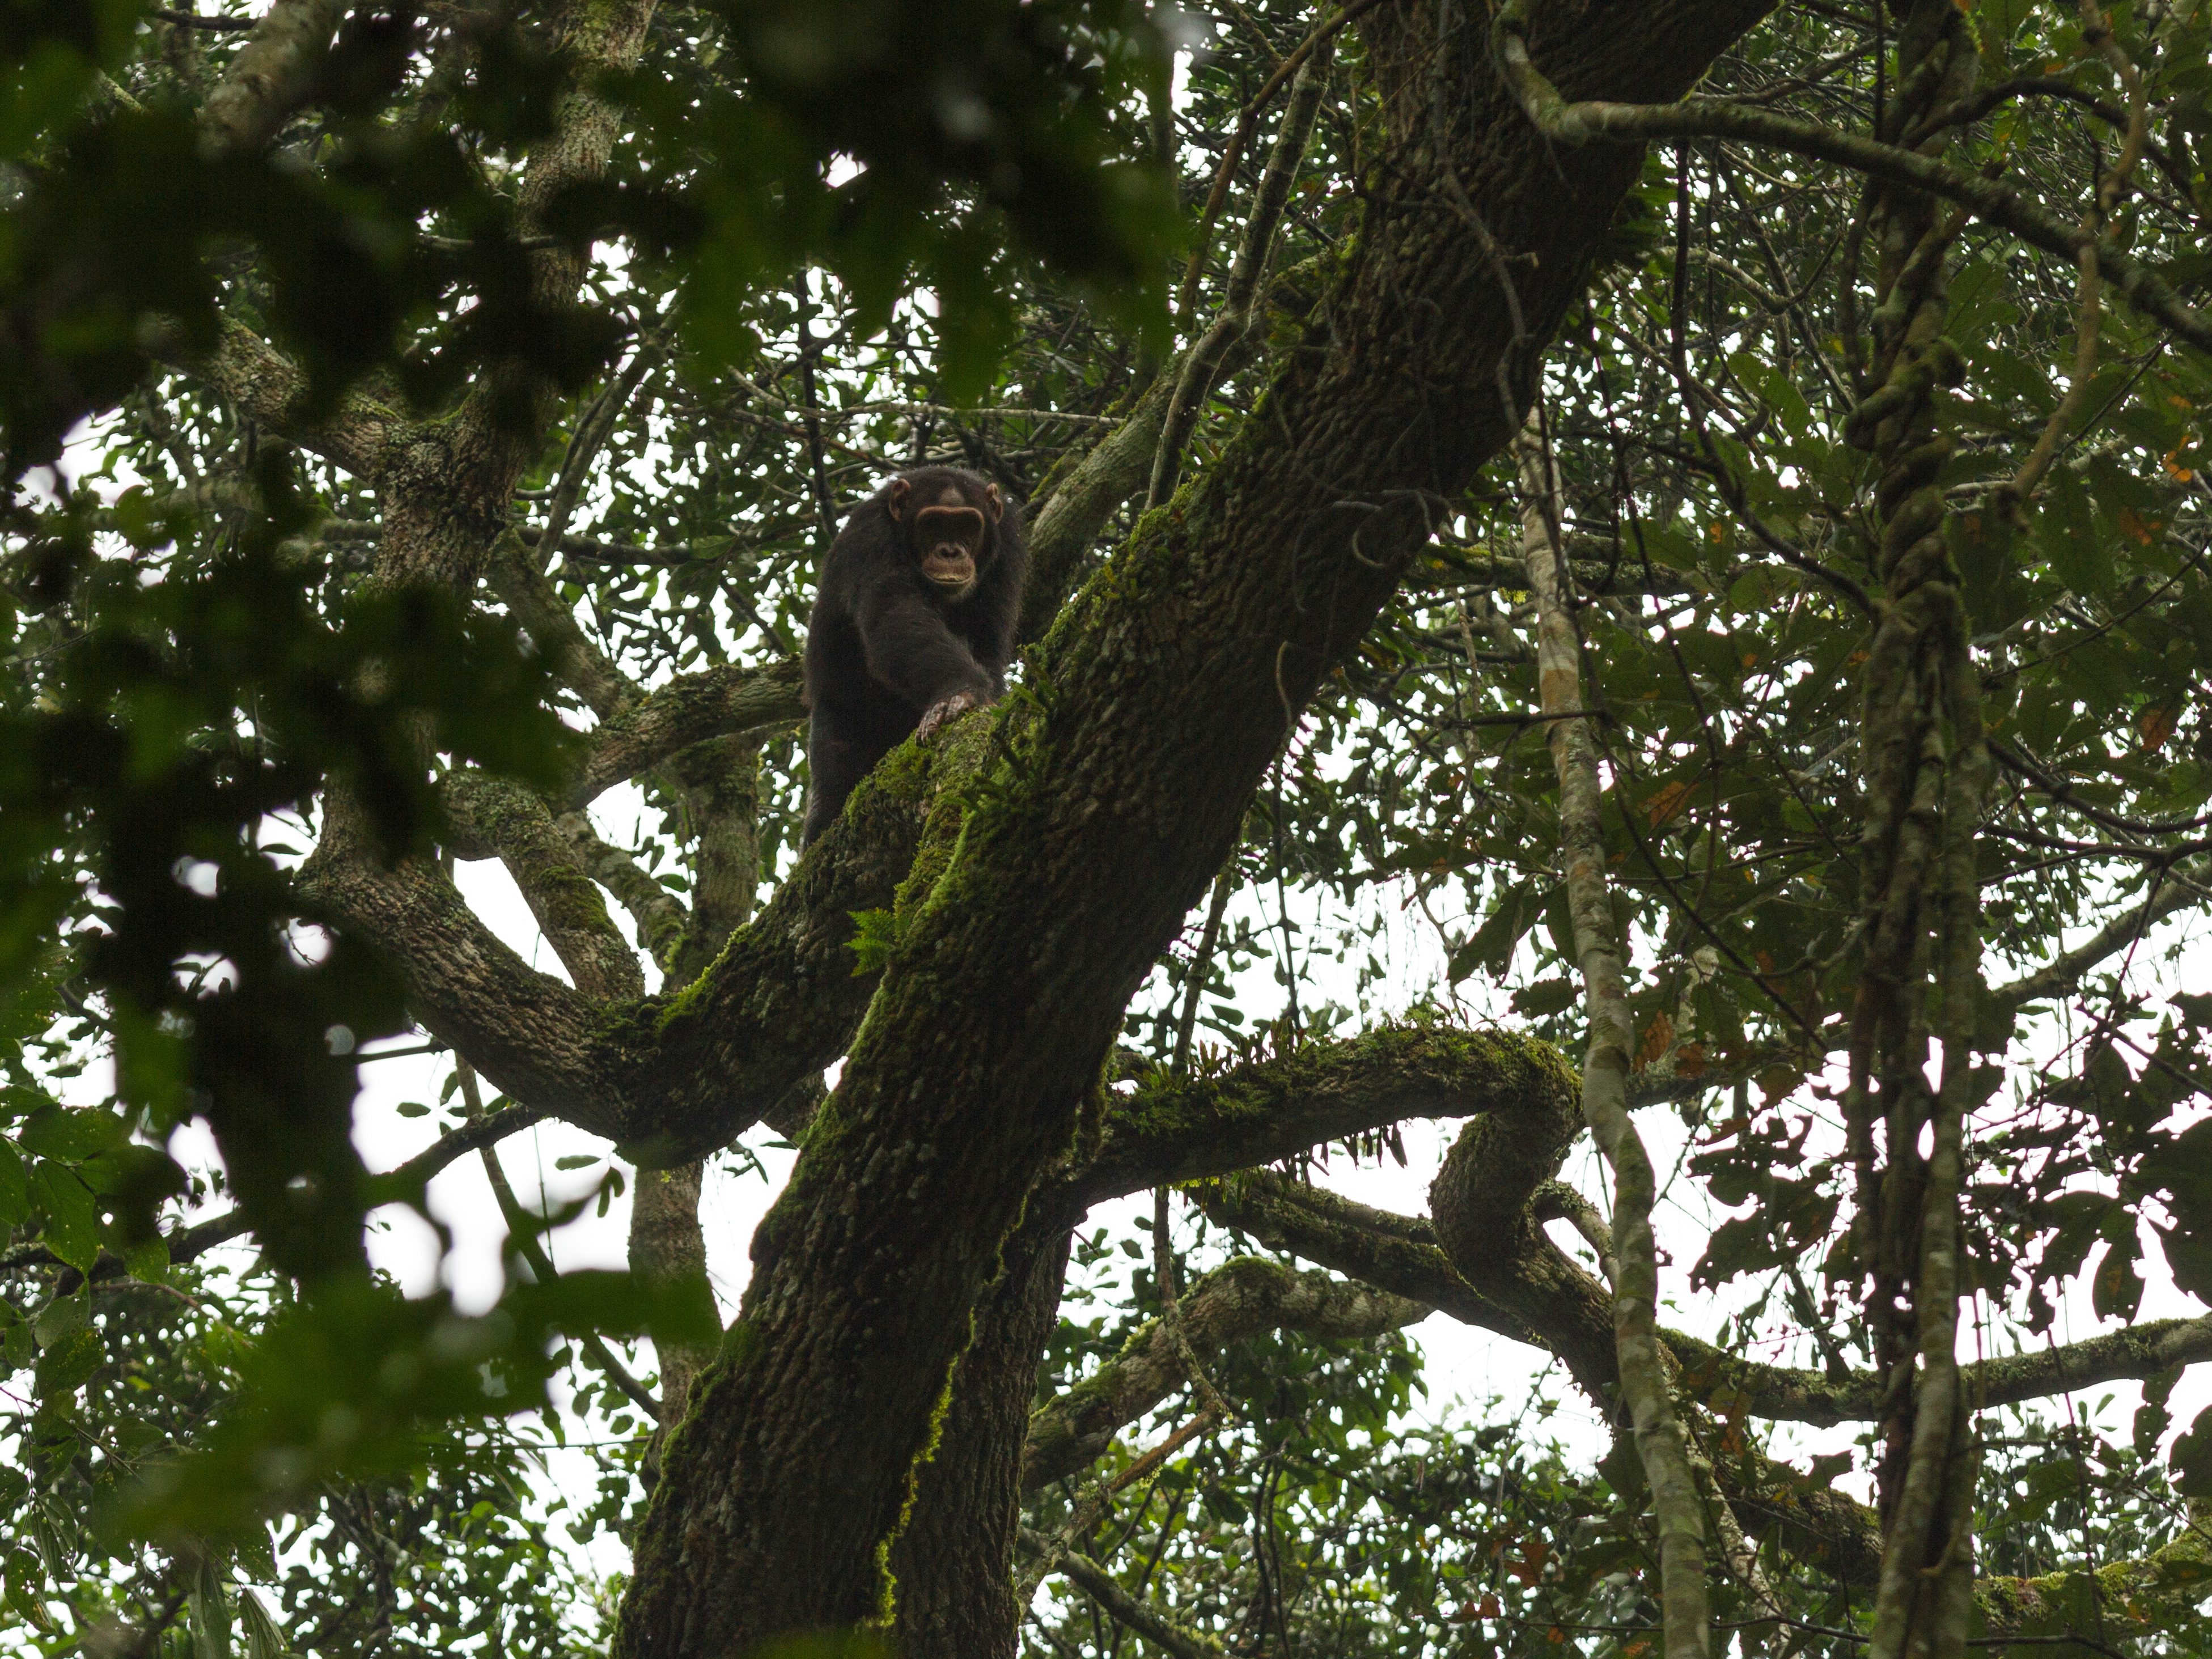
Before traveling, make sure you are well acquainted with you equipment: you will have no time to play around with all the buttons and settings once you are close to your target. You really need to know how your camera and lenses behave in low light condition or in areas with dense vegetation. How well can your camera focus on an animal observed between branches?
Scan your passport, tickets, bookings on your web mail account as well as receipts of your main gear. This can be very helpful at customs or if you lose everything during your trip.
Unless you travel around by car, weight and volume will be the main limiting factors. Unfortunately, for equal performances, the lower the weight of your gear, the higher their costs.
If you are flying, always verify the exact size and weight limits for your specific flight on the airline's official baggage policy page. Only a few companies allow to carry more than 8 kg in the cabin and checking in your bag should not be considered an option. Hereafter is a list of the restrictions regarding carry-on luggages: https://www.skyscanner.net/news/cabin-luggage-guide-hand-baggage-sizes-and-weight-restrictions
Be very careful when buying a rucksack for your cameras: many large models will not be allowed as cabin luggage.
Always have locks on your bags.
The failure of a single item can mean the end of your trip. Think therefore about the most critical items: failing USB & electric cables, battery chargers, memory cards, camera bodies, backup devices or travel adapters can ruin everything.
You will be better off traveling with material from the same brand to maximise compatibility and reuse.
Take at least one zoom-lens: because of their versatility, these are extremely useful when going in an area that is unknown to you. You may indeed end up taking landscape pictures (using a wide angle) rather than bird pictures (using a tele lens) should wildlife be absent or vice versa. Nature is unpredictable.
Put marks (numbers) on your memory cards and batteries. This will ease the management of the backup and charging process.
Avoid using only a very few large memory cards. It is safer to download and backup pictures regularly than waiting for your card to be filled with the risk of losing everything (e.g. card failure or simply losing your card).
However, memory cards should be capable of storing all your pictures of your trip in the case a backup on a PC is not possible. Depending on your gear and luck, you may easily end up with 5k pictures to store.
Make sure you can distinguish your gear from others. As a matter of fact, it is not unlikely that you will have to share plugs with other photographers when recharging your batteries (in a car or in a shared room at the hotel).
Have a plug to allow charging multiple devices (laptop, batteries, phone...) at once: very often, you will have electricity only a few hours a day. Try to make the best out of it to charge multiple devices at once.
Now you can forget all the above if you are not traveling with the right clothes! These will play a key role and making your trip a nightmare or a success. Ever been sitting in the sun for hours without a hat or been in the snow with sandals?
Gear
Here is my list of essential items I would have in my carry-on luggages (one rucksack + underseat bag):
1 rucksack in which the items below will have to fit in. Keep it clean to avoid dust damaging your gear. Clean it before and after each trip to avoid carrying invasive species (pollen, eggs of bugs, ...).
1 international plug converter
1 electric plug allowing the simultaneous charging of a battery and a netbook/others
3-4 batteries (remember that batteries cannot go in your checked luggage)
1 battery charger + 1 power cable
2 camera bodies: 2 bodies will prevent you from having to change lenses too often & reduce risks of ending-up with no functioning camera. Get solid camera bodies: trust me, your camera will fall or bounce against hard material, during a hike, a bumpy road trip, or simply at home.
Camera straps with quick release are extremely useful to easily secure your camera by attaching it on a handle or to anything you find while you are in a car on a bumping road
1 tele lens (zoom or fixed): this will be your main lens for wildlife photography and you will need something that goes at least up to 400 mm.
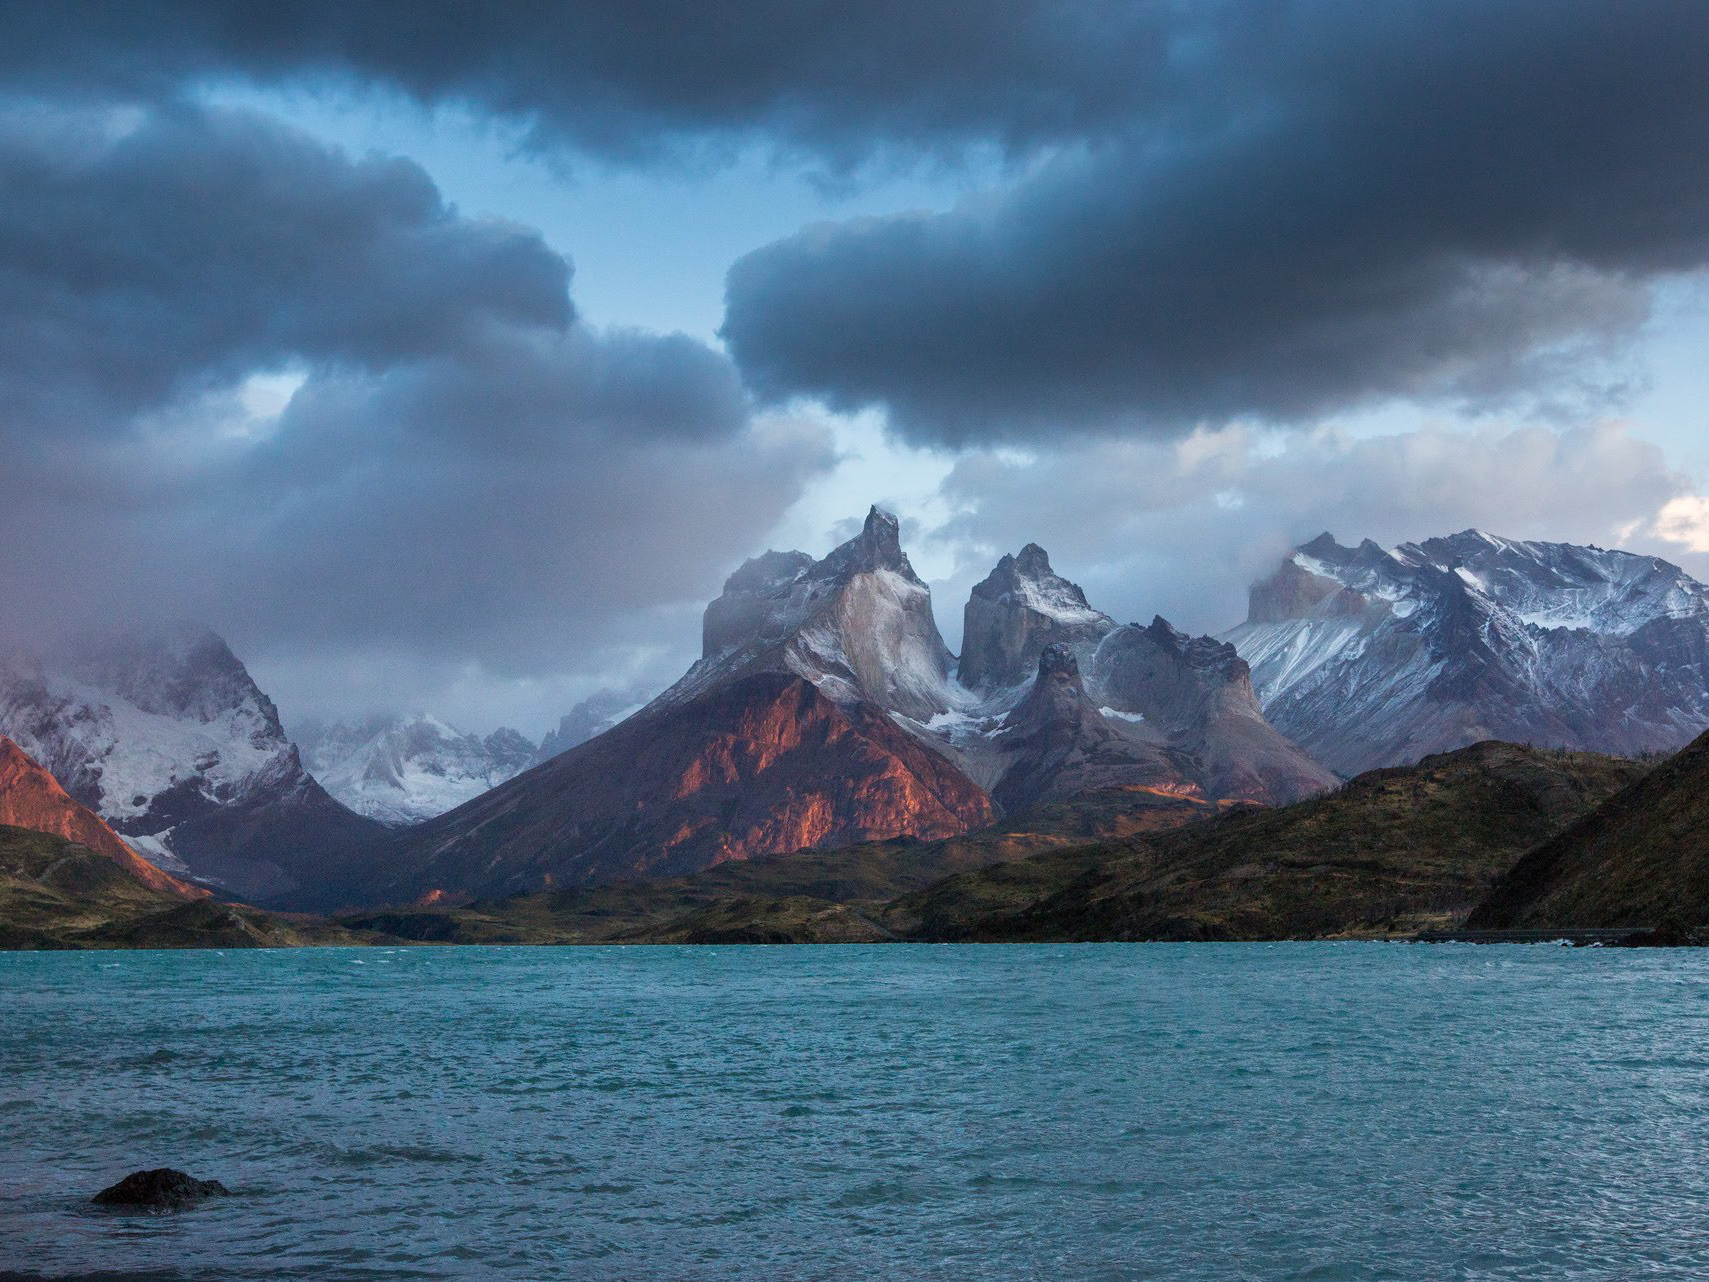
1 wide angle lens + UV filter: should you go in open areas with great landscapes. Documenting wildlife habitats will make your story more interesting
1 laptop or tablet with good storage capacity
1 air blower for cleaning your sensor
1 lens cleaning kit: a microfiber cloth for lenses, a rocket blower for dust on the sensor, and lens wipes. A clean lens is a sharp lens.
1 additional set of caps for lenses and body. I have lost so many of these...
At least 4 memory cards capable to store all your shots should you have an issue with your laptop/tablet
1 memory card reader (you better use a card reader than connect directly your camera to the backup device)
1 USB cable to connect your camera to the laptop (should the card reader not work)
2 large light plastic bags to cover your gear in the case of huge rain / dust storm when you arrive.
In addition to the above, I will have the following items in the checked bag:
1 external backup disk including its cable to connect to your laptop. It should travel independently from your hand bag!
1 power cable + 1 battery charger + 1 battery + 1 international plug converter
1 monopod or a tripod + ball head
1 spare USB cable for my camera
Screwdrivers/Swiss army knife: you will have to mount/unmount plates if you use tripods
UV Filters
A 1.4x teleconverter can be really helpful when you are in a hide and observing distant animals.
Binoculars
A good monopod / tripod: a flimsy tripod is worse than no tripod.
An Allen key
Filters for your lenses should you use these (they can be kept on your lenses to protect the glass)
Not essential but great to have:
Camera straps with quick release are extremely useful to easily secure your camera by attaching it to on a handle, anything really while you are in a car on a bumping road.
1 macro lens, eventually, since I am increasingly using my phone to take macro pictures when going to areas with lots of critters, typically tropical regions during or after rainy days
1 head light (with a red light) to manage your gear in the dark and have your hands free when doing so. The red light is indispensable for night photography as it allows your sight to quickly adapt to darkness and will be much less annoying for anyone around you. Note that you will often wake up early/go back to bed late!
1 car power charger with USB slot: allows you to recharge your batteries and backup systems in a car should access to electricity be a problem
I almost never use a flash, many do but this is not great for wildlife
Travel with a dense synthetic towel that is easy to reach to protect your gear from sudden rain, snow, dust or dirt. Ideally, the towel should have sides of different colours to distinguish the exposed dirty side from the non-exposed side.
What to buy: cameras and lenses
I regularly get this question so here is a very personal point of view. This section is not listing models of camera bodies as these are changing constantly. I will only try to highlight a few points that need to be taken into consideration when buying a camera for wildlife photography.
You have to accept that lenses come first, if you don't then you should question why you want a reflex camera
Lenses are mainly made of glass and steel only and therefore last for ever: there is a huge market of second hand material you could consider.
Full frame cameras or not? Full frame cameras are usually more expensive, provide better image quality but you lose the magnifying factor that is often welcome when shooting wildlife. I would go for a full frame camera only if I can afford big tele lenses.
Should I care about the made? Canon, Nikon and Sony lead the market in the world of reflex cameras because they offer a huge variety of lenses. It will take time for smaller brands to catch up, even if you will find around many excellent bodies.
Nikon, Canon, Sony, Pentax, ...? Think first about the best lens you will want to use. Then select the body of the associated brand.
Try to get information on the quality of the services you will get. These differ by brand and by country.
Canon was a pain for what concerns batteries that were not compatible between various cameras. Nikon has been more careful on this issue.
What camera body should I get? The main issue here is obviously the budget you are willing to put in this hobby. Main criteria for selecting a body for me are:
a) the sensitivity of the sensor in low light condition (essential, especially if the lenses are not top of the range): this is essential as you will work at dusk and dawn and possibly be in dark environments (forests). I have spent too much time in rain-forests with blind material.
b) the ability to resist adverse conditions (rain, shocks, heat, cold...). I have stopped counting the number of times my cameras and/or lenses fell in the car due to a bump on the road, or due to too little attention given to my stuff when packing my bag, overexcited by the moment.
c) the speed of the auto focus and the number of auto focus sensors. Much hype is put on these features and presented to nature photographers as the most important ones. After now 10 years of experience, I am shifting to cameras that are full frame, have less sensors but excellent responses to low light environment.
d) the number of shots per second should be as high as possible to capture the perfect moment in the case of action (you know birds are flying right?)
Make sure you are acquainted to your gear before you go in the field. Buy your camera 2-3 months before going on a trip as you may have to return your material to the seller if you have an obvious problem (it happened to me twice!) and take the time to test the different settings under different conditions.
Money, ticket, passport (with visa if required), glasses, medicines? You should be ready to go now!
In the field
Getting ready
Avoid perfumes, bright colours... well anything that would catch the attention of the wildlife you will try to approach.
Think carefully about clothes: one will never stress enough how much difference it makes when you have the right shoes, hat, shirts, trousers, glasses.
Never spray insect repellents close to your gear: the DEET they usually contain is corrosive and will affect plastic material. Make also sure the repellent will not fall off your bag... it can be deadly for wildlife.
If you are into macro photography or have the chance to go on a walking safari, you might spend quite some time on your knees: protections (e.g. for skateboarders) will make your life much easier
Keep your spare batteries in your pockets when you are in cold areas. Keeping them warm will allow you to better preserve their charge.
Screening your environment
Hire a local guide and/or a game spotter. I believe this is essential as you will save a lot of time in the field and further support a local economy based on biodiversity conservation.
Walking/driving around aimlessly, especially without a guide, is less efficient than hiding and waiting. If possible, explore the area and select the best spots for taking pictures.
Try to regularly visit the same places at different times of the day: you will get acquainted with your new environment and will be able to better spot wildlife. If you don't have time, rely on a local guide (did I already stress the importance of a guide?). You will also be able to assess the best light conditions.
Shoot during the 'golden hours' (early morning or late afternoon) to avoid flat light and capture warm, dramatic shadows. Dusk and dawn are also the best time of the day to take pictures because this is the time when wildlife is most active.
Midday is better for spotting cold blooded animals, including arthropods, as these need external sources of heat to become active but early mornings will allow you to take pictures more easily as these won't move too fast.
As stressed before, make sure you know your gear before your go in the field: you will have no time to play around with all the buttons and settings once you are close to your target. This will also help avoid spending hours later in the digital dark room trying to correct mistakes.
Know your gear (I also already said that didn't I?): wildlife photography is about "shooting" pictures. You will have to be fast and accurate and there will be no room for mistakes
Think about a project when going in the field. This will help you to avoid to come back with ordinary pictures.
Wildlife photography is a solitary hobby: avoid crowds. I would rather miss the sight of a predator surrounded by tens of people and take my chance elsewhere.
Make the best out of the weather. Heavy rain, storms, wind, fog, .... can provide great opportunities for unique shots!
A few words about macro photography
Before the lack of light, the main enemy of the macro photographer is the wind. Insects are usually on flowers that will move out of focus at each blow. You can fix the light problem with a flash, you can try to fix the second one using some windshield.
I sometimes use a tripod to which I attach metal wires used to hold firm a flower or the stem of small plants
Unlike tele lenses, macro lenses will quickly show spots on your pictures in the case of dirt on your glass. Better check it regularly as you will frequently get the end of your lens in contact with grass and plants.
Extreme macro photography? Have a look at the unique Canon MP E 65 mm macro lens and a review from Ophrys Photography
First shots
Default settings of my camera: be ready for the unpredictable
a) priority is set for shutter speed: a blurred image is useless while you can always improve contrast and exposure later on
b) metering is centre weighted: you will probably be unable to aim properly if surprised. Use spot metering later on if you can
c) in open space all sensors in the centre should be active: same as above, you first will want to get the animal in the frame and in focus.
d) in closed space (e.g. forest) only a single central sensor should be active: obstacles are likely to be in your way, you can anticipate this.
Shoot your pictures and think about the rest later on, unless you have very limited space left on your memory card. It is unlikely you will have a second chance to get moving wildlife in the frame.
Now that you have shot your first pictures and if the subject is still around, take your breath and start thinking about composition and take the time to observe the animal to anticipate its next move.
Know the targets: the best wildlife photographers are usually excellent naturalists. Being able to recognise sounds and tracks and anticipate the behaviour of the animal will allow you to be ready for the next event.
Think about a title when taking a picture. It will oblige you to think further about what exactly you will want to show.
Divide your frame in 9 rectangles of equal sizes by drawing 3 horizontal and 3 vertical lines (rule of thirds): the focus of the attention will be better placed on any spot corresponding to the junction of these lines. Similarly, you can use the lines to divide your landscape in 1/3 sky and 2/3 land.
Better underexpose than overexpose. Over exposure leads to "burned" pixels while underexposed ones can still reveal some information using your favourite image editor
Focus on eyes which should always be in focus. Eye-contact is however not needed.
Shoot pictures at the height of the animal, especially when doing macro photography. So yes, you are likely to spend a lot of time on your knees and belly.
Be very careful with distracting elements (a twig in the way, some colourful item in the background, some grass hiding elements of the insect)
The background is often considered as important as your subject.
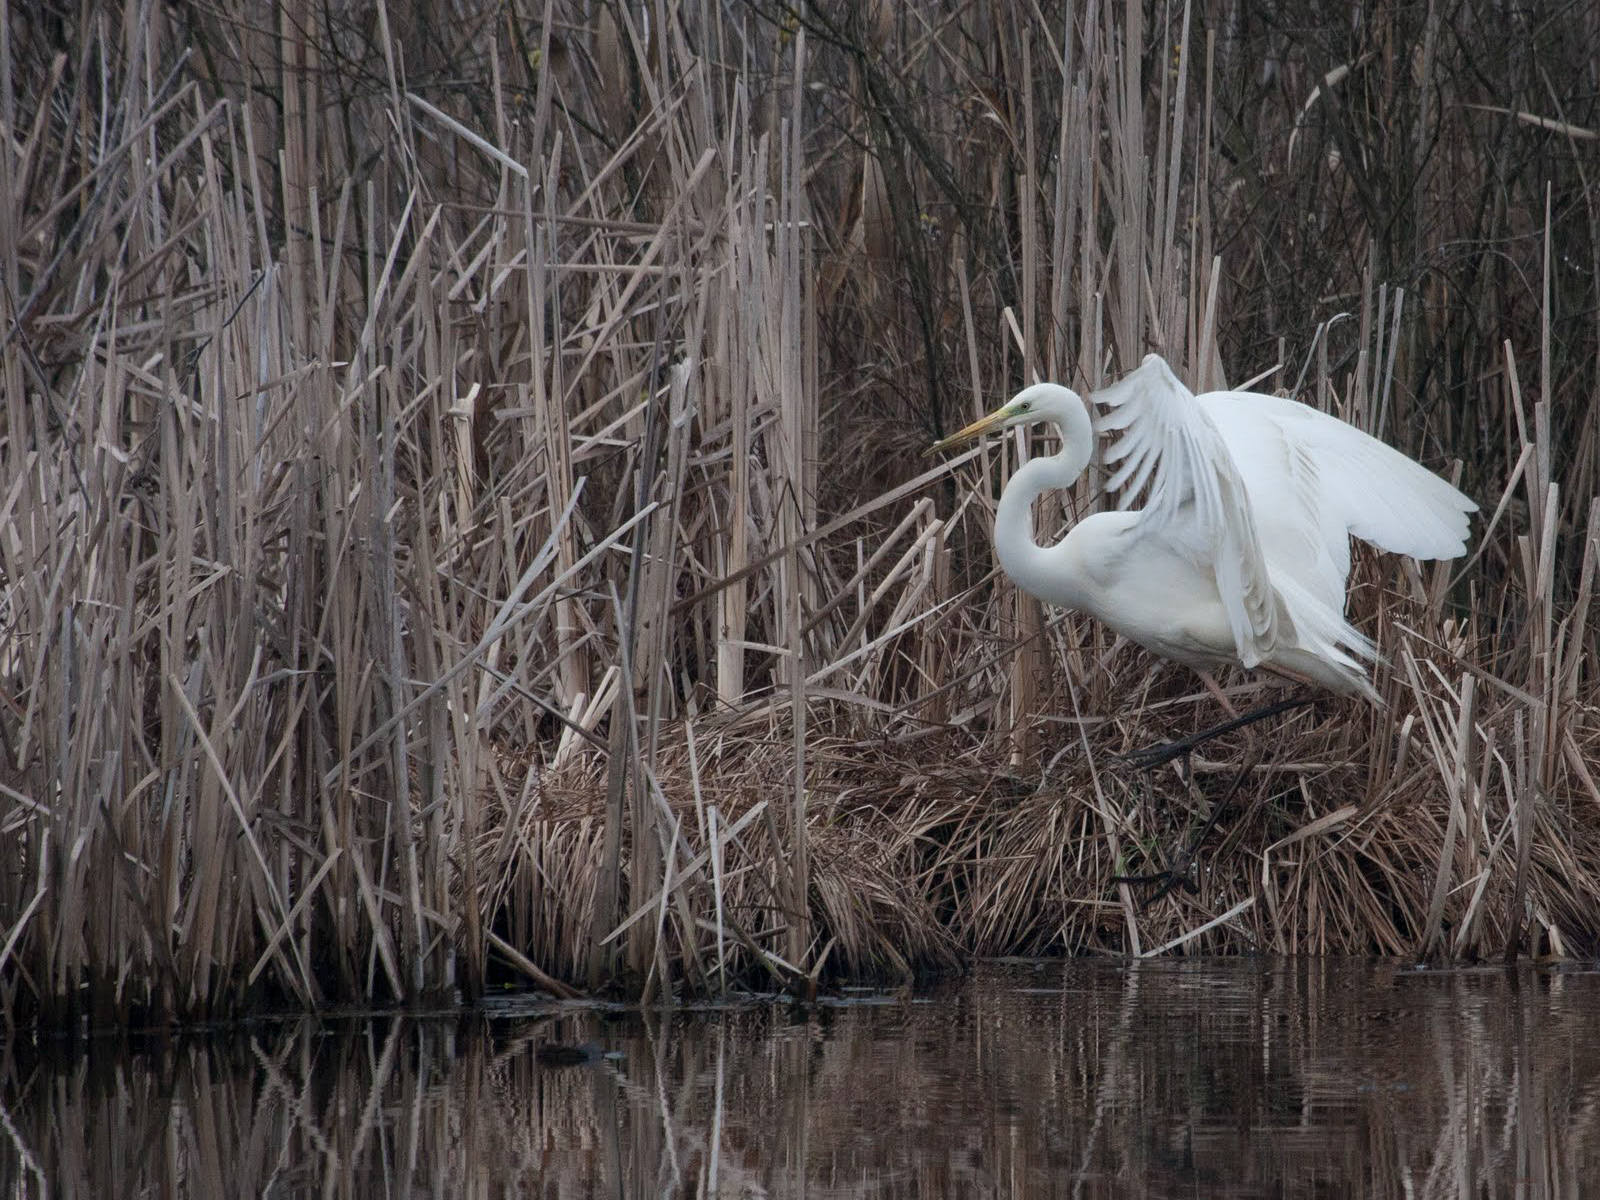
Avoid putting too much information in a single picture: an isolated animal in its environment, a close up of an animal will be more pleasant to see than different species of animals sparsely distributed on your shot (e.g. various birds in a tree, a dispersed herd of mammals, ...)
Leave some space in front of animals in movement, or animals gazing.
Rules are sometimes made to be broken: all tips given above are helpful to get great shots but the most extraordinary pictures you will take will almost certainly be those where rules have not been respected.
If possible, move around your subject to explore different angles. Sometimes it is critical to get multiple angles of your target to identify correctly the species (spots on back? length of tail? colour of legs?)
First result
Got your first pictures? Check your settings to see what can be optimised.
Regularly check you haven't dirt on the glass of your lens. The wider the angle of your lens, the bigger the spots on your pictures. Don't get too obsessed about this either... I have met people who spent more time looking at their gear than at the wildlife around.
Check for dirt on your sensor (see Camera body): simply take a picture of a light uniform surface (blue sky, white wall) with an opening of f16
You have spots on your pictures?!?!? We actually all do! Even if your camera comes out from the factory, you may see tiny spots at openings smaller than or equal to f22. Repeat the tests with larger aperture (e.g. f16, f13, f11, ...) to assess apertures for which dirt will be become barely visible.
Don't try to clean the sensor of your reflex camera in the field. Still, you can minimise impact of dirt on your sensor by shooting pictures with large aperture f < f5.6 (depending on your lens).
Spots on your sensor are usually not a problem when taking wildlife pictures as you will usually work with large aperture (< f5.6) to have a sharp portrait of the animal with a background that is out of focus
Dirt on the edges of your sensor will have less impact (you can crop pictures) than if located in the middle.
Regularly check the settings of your lenses (are the auto focus and image stabiliser buttons still on "on" ?) after driving on a dirt road. You will quickly learn the hard way that the original settings of your material might have been affected by holding your gear and driving on a bumping road.
Avoid to use flash as much as possible. It may not always harm the eyesight of nocturnal animals but it will make these temporarily blind, something that is not recommended if you are out in the bush. For the same reason, I am not a big fan of so-called "night drives" on a safari. Professional guides would use red lights reducing enormously the nuisance. On the other hand, get ready for night shots should be moving around in the darkness and an animal gets caught in traffic lights.
Cleaning your camera body
Whatever you do, sensors will get dirty with time. You can easily check for spots by taking pictures of a uniform background (a white wall, a blue sky, ...) with a an aperture > f16 (f22).
When taking landscape pictures, usually using a large field of depth (small aperture, e.g. > f 16, f22,...), spots on sensors will become more and more visible. Make sure you know the status of your sensor in terms of dirt
Cleaning a sensor from dust (dry) is not difficult and you can easily clean the largest spots from your sensor using an air blower.
Brushes can be useful for cleaning the sensor but watch out for grease on the edges of the sensors on certain cameras! You can make it worse!
Sensors never get 100% clean, accept it as a fact and make sure the spots on your sensor have been brushed/blown to the sides of the sensor. Cropping a picture in an image editor is easier than removing all the spots.
Digital dark room
Always shoot in raw format. No excuses today for not doing so.
Don't delete yet poor pictures, this can be done in second stage. Poor pictures can still help you identify a species and progress in image processing has been such that one can today save blurry pictures thanks to great software and AI.
Poor exposed pictures can still make great shots by playing around with contrasts and shadows.
Don't forget that you need a powerful PC and an excellent screen to handle pictures that can be very large. Don't underestimate these additional costs.
External hard disks for backup are cheap compared to the cost of losing excellent shots that usually represent one chance in a lifetime. My biggest mistake was not shooting in RAW when I started. Shooting in RAW will allow you to properly edit your pictures later. I started reprocessing pictures older than 10 years using new software and I am amazed how many poor shots could be saved and reused!
Pictures taken with high ISO generate noise that can be difficult to deal with properly by many software, especially when converting RAW into JPG. In such cases, software developed by the makers of the camera (e.g. Canon's Digital Professional) might do a better job than independent tools like Adobe Lightroom.
I never had a software that can do it all. You will most likely be better off with a set of different tools for archiving, editing, converting.
If possible, when exporting pictures to JPG, check the outcome on different computer screens (e.g. compare pictures put on the web from home and from the office or a friend's place). Differences can be striking even if your screen has been properly calibrated.
Image processing should be depending on the support you are going to use: pictures on the web will appear different when printed and vice versa.
Calibrate your screen regularly, e.g. every 3 months. You would be surprised about the differences.
What to do with your pictures
Pictures are first of all memories and I still enjoy processing pictures have taken many years ago. But nature pictures have a unique value considering the destruction of our environment.
Wildlife pictures can have a scientific value and you should consider contributing to citizen science initiatives such as iNaturalist.org The community of iNaturalist can help identify a species and your observation will end in scientific databases that are essential for research and conservation.
Documenting nature, its beauty and its destruction can pass powerful messages to the public. Use these on web pages, public forum, communication material. there are so many opportunities!
Things I have never been happy with
Filters on a tele lens can lead to artefacts. I am thus using UV filters only on wide angle lenses and mainly to protect these from scratches
Battery grip: it is expensive and I used it in the end only for time lapse videos based on thousands of pictures.
Flash: used by all professionals, I never managed/liked to use a flash. They can be disturbing for the nocturnal wildlife as well and new cameras become more and more efficient in low light conditions anyway.
Learn from others
See what others have been doing: see web sites, magazines and forums. You will find there plenty of ideas about how to frame your subject.
Hereafter a very few links to more serious wildlife photographers doing amazing work:
Stefano Unterthiner: https://www.stefanounterthiner.com/
Frans Lanting: http://lanting.com/
Paul Bertner: https://rainforests.smugmug.com/